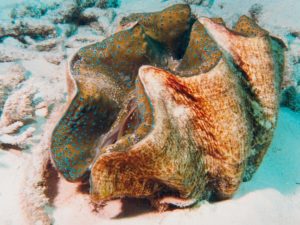
Giant Clam on a sea floor.
As Summer continues to heat up we’re daydreaming about getting in the water to cool off. Our fourth embroidery pattern is inspired by something that lives in the South Pacific, the giant clam.
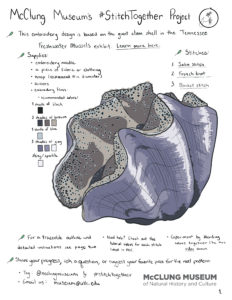
The McClung Museum houses a giant clam shell in the Tennessee Freshwater Mussels exhibit where you can learn about the major groups of mollusks as well as the biology of freshwater mussels, their use in local industry, and what they can tell us about the health of our ecosystems. Learn more about the exhibit here and plan a visit to see a giant clam shell in person here.
Download our fourth #StitchTogether embroidery pattern!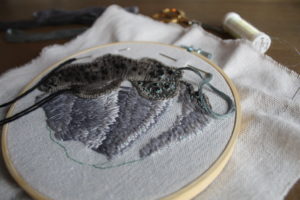
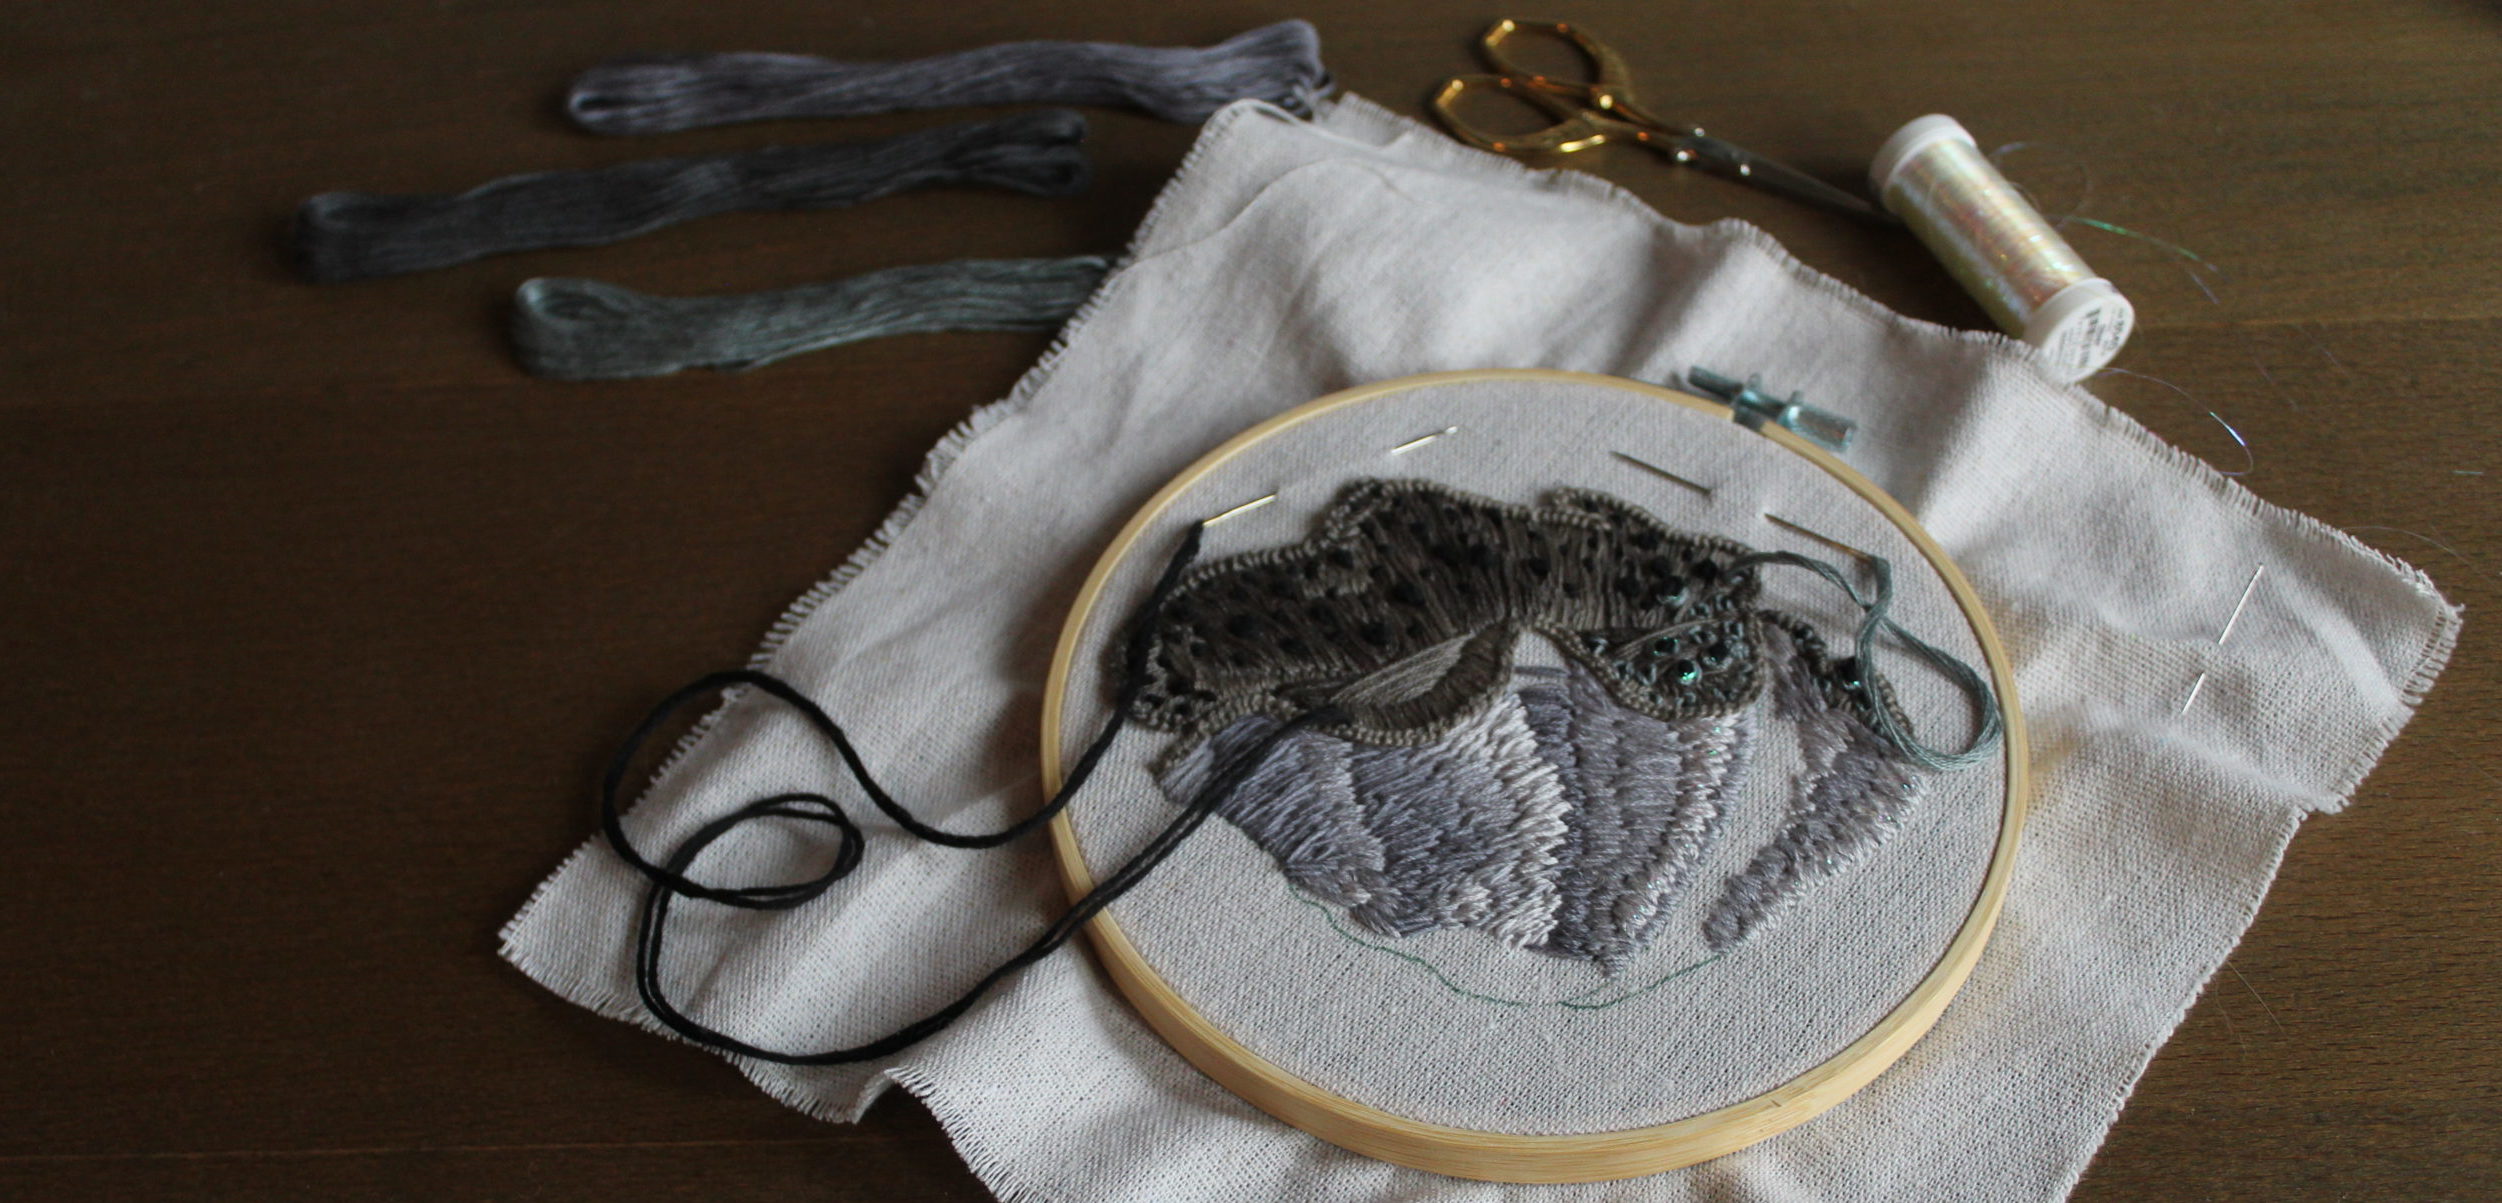
Giant Clam Embroidery
When you’re through with this one, make your own pattern inspired by the Tennessee Freshwater Mussels exhibit.
Want to suggest a piece from our collection for a future pattern? Explore our online collections and send us an email at museum@utk.edu.
New to embroidery? Find all the links to videos of each stitch in the pdf and below.
Supplies:
- Embroidery needle
- Hoop (6-inch diameter used in pictures)
- A piece of fabric or clothing
- Scissors
- Pencil or pen
- Embroidery floss:
- 1 black
- 1 shade of blue or teal
- 4 shade of blue gray from light to dark
- 3 shades of green gray from light to dark
- Optional: 1 shiny or iridescent color thread
Download and print these instructions.
Instructions:
- Place fabric on the hoop making sure it’s taught.
- Draw or trace the design onto the fabric adjusting for the detail level and scale that you want.
- Thread your first color onto the needle and begin stitching using the colored guide from page one.
- If you want, start by stitching the inside or body of the clam with the blanket stitch. Then use the satin stitch to fill in the remaining areas and the shell.
- Try blending or fading some of the colors together to get a gradient from dark to light.
- Add the dark spots with French knots adjusting the number of wraps
- around the needle to create different sizes. Surround each spot with the blue or teal with a few stitches.
- Finally, add some sparkle and shine with an iridescent thread
- around your French knots, to highlight areas of the shell, or anywhere that you want!
- Sit back and take in your awesome work! 😁
Videos demonstrating stitches:
Body of clam with curly edge: Blanket Stitch
Shell and fill in colors:
Extra details: French knot stitch