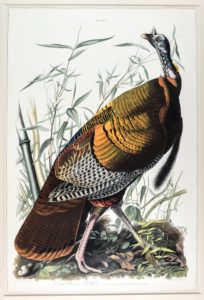
“Wild Turkey, Male,” 1827, from “The Birds of America,” Plate 1, double elephant folio edition, London, by John James Audubon. Colored aquatint engraving by W. H. Lizars.
This embroidery pattern is inspired by the Wild Turkey, Male, (1827) from “The Birds of America,” Plate 1, by John James Audubon with colored aquatint engraving by W. H. Lizars. At roughly 50” high by 37.6” wide, Audubon’s detailed artwork is life sized, printed on the largest paper available at that time for the “double elephant folio” edition. Learn more about this print here.
You don’t have to stitch a life sized version to enjoy your own wild turkey, but you could! The embroidery pattern features much of the color gradation and detail, and you can add in more texture by double threading your needle. Much in the same way as the Butterfly Pattern, you can stitch something more challenging by focusing on all or select details. You can also alter the scale or choose to focus on a particular area like we did to create an outline of his head or the coloring on the feathers in our examples.
Download the Pattern for Wild Turkey
New to embroidery? Find links to video tutorials of each stitch in the pattern and below.
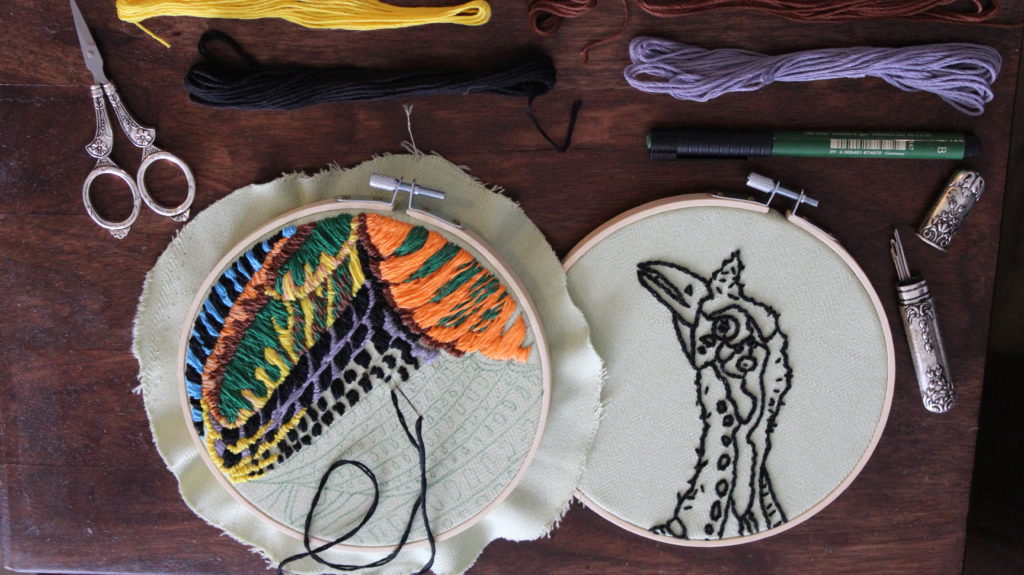
Supplies:
- embroidery needle
- hoop (6-inch diameter used in pictures)
- a piece of fabric or clothing
- scissors
- pencil
- embroidery floss:
- 1 shades of yellow
- 1 shade of orange
- 2 shades of brown
- 1 shade of green
- 2 shades of blue
- 2 shades of red or pink
- 3 shades of black and grays
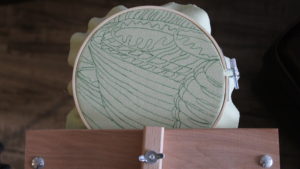
Starting with an outline of the design.
Instructions:
- Place fabric on the hoop making sure it’s taught. (Fun tip: Try embroidering on a patterned fabric or a piece of clothing!)
- Draw or trace the design onto the fabric adjusting for the detail level and scale that you want.
- Thread your first color onto the needle and begin stitching using the colored guide from page one.
- If you want, start by stitching an outline with the split stitch. Then use the satin stitch to fill in each section.
- Try blending or fading some of the colors together to get a more natural look.
- Add any final details like French knots for eyes or some small crisscrossing straight stitches to create feather fuzz around his head.
- Sit back and take in your awesome work! 😁
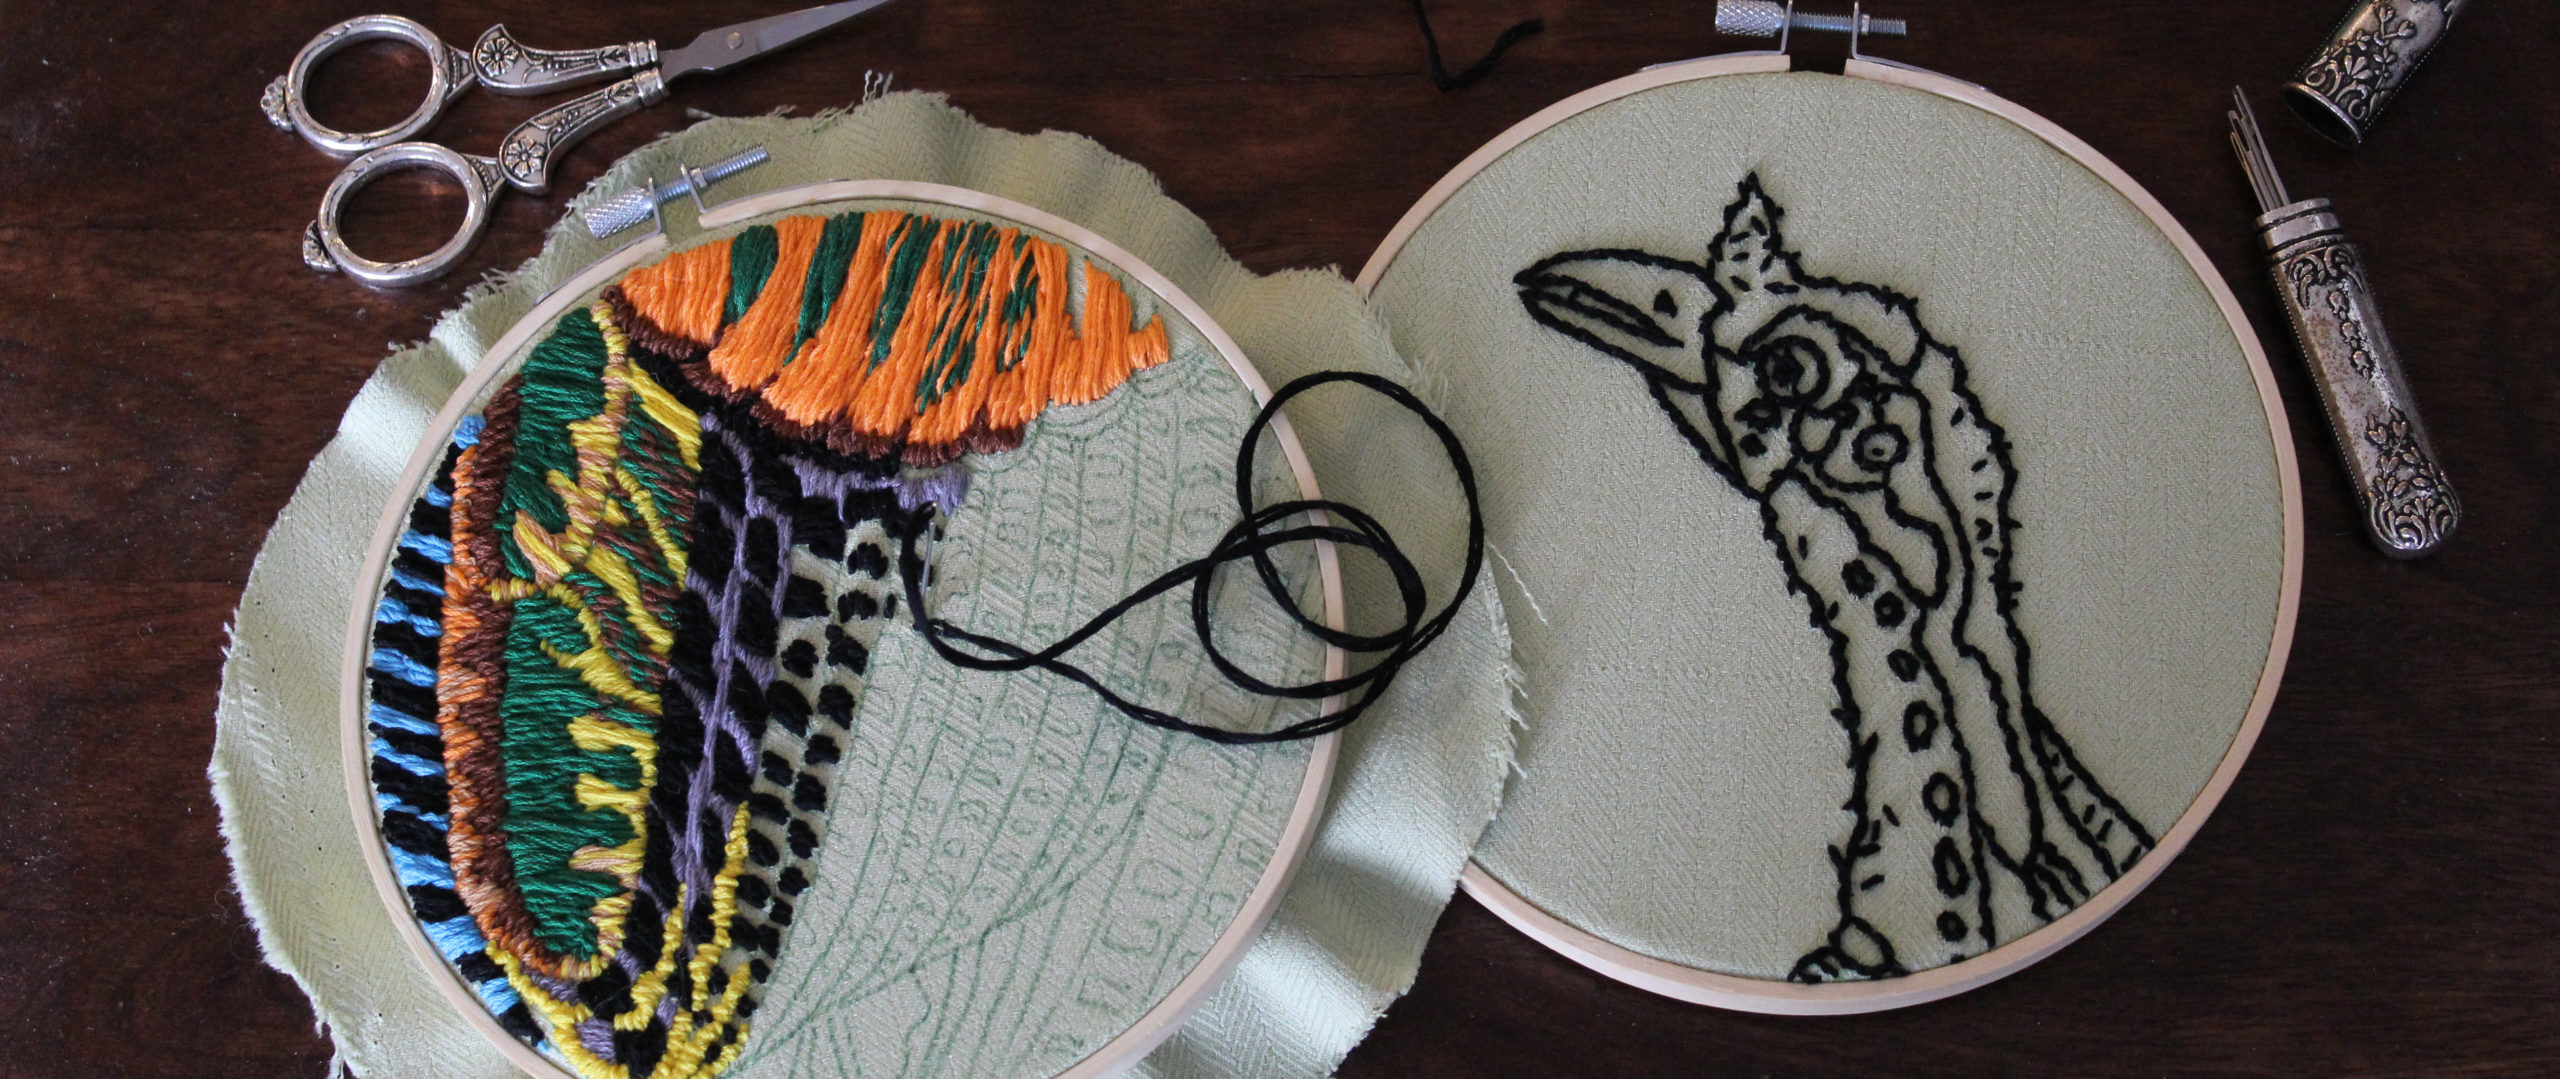
Embroidery of some of the turkey’s details in progress.
Stitches
- Outlining the pattern:Split stitch
- Fill in colors:
- Extra details: French knot stitch